Expert Bathroom Plumbing Installation: A Comprehensive Guide
When it comes to home improvement, bathroom plumbing installation is one of the most critical aspects that homeowners often overlook. A well-planned plumbing system ensures not only the functionality of your bathroom but also enhances the overall aesthetic and comfort of your home. In this guide, we will explore various facets of bathroom plumbing installation, including its importance, components, installation processes, and maintenance tips. Make sure to read through as we break down each element in detail to help you understand the essentials of bathroom plumbing.
Why Bathroom Plumbing Installation Matters
The bathroom is one of the most frequently used areas in any household. Proper plumbing installation is vital for several reasons:
- Functionality: Reliable plumbing ensures that water flows smoothly to and from fixtures, preventing blockages and backups.
- Safety: Proper installations reduce the risk of leaks and water damage, which can lead to mold and structural issues.
- Efficiency: Well-installed plumbing can improve water flow and can help save on monthly water bills.
- Property Value: Investing in quality plumbing enhances your home's value, appealing to future buyers.
Key Components of Bathroom Plumbing
A typical bathroom plumbing setup includes several critical components:
1. Water Supply System
The water supply system delivers potable water to your bathroom fixtures. This system is usually comprised of:
- Supply Lines: These are pipes that bring water into the bathroom from the main supply. Common materials include copper, PVC, and PEX.
- Shut-Off Valves: These allow you to turn the water supply on and off for maintenance and emergencies.
2. Drainage System
Just as important as the supply lines, the drainage system ensures wastewater is correctly removed from the bathroom. Key elements include:
- Drain Pipes: These carry waste away from your fixtures towards the main sewer line.
- Traps: Each fixture should have a trap that prevents sewer gases from entering your home.
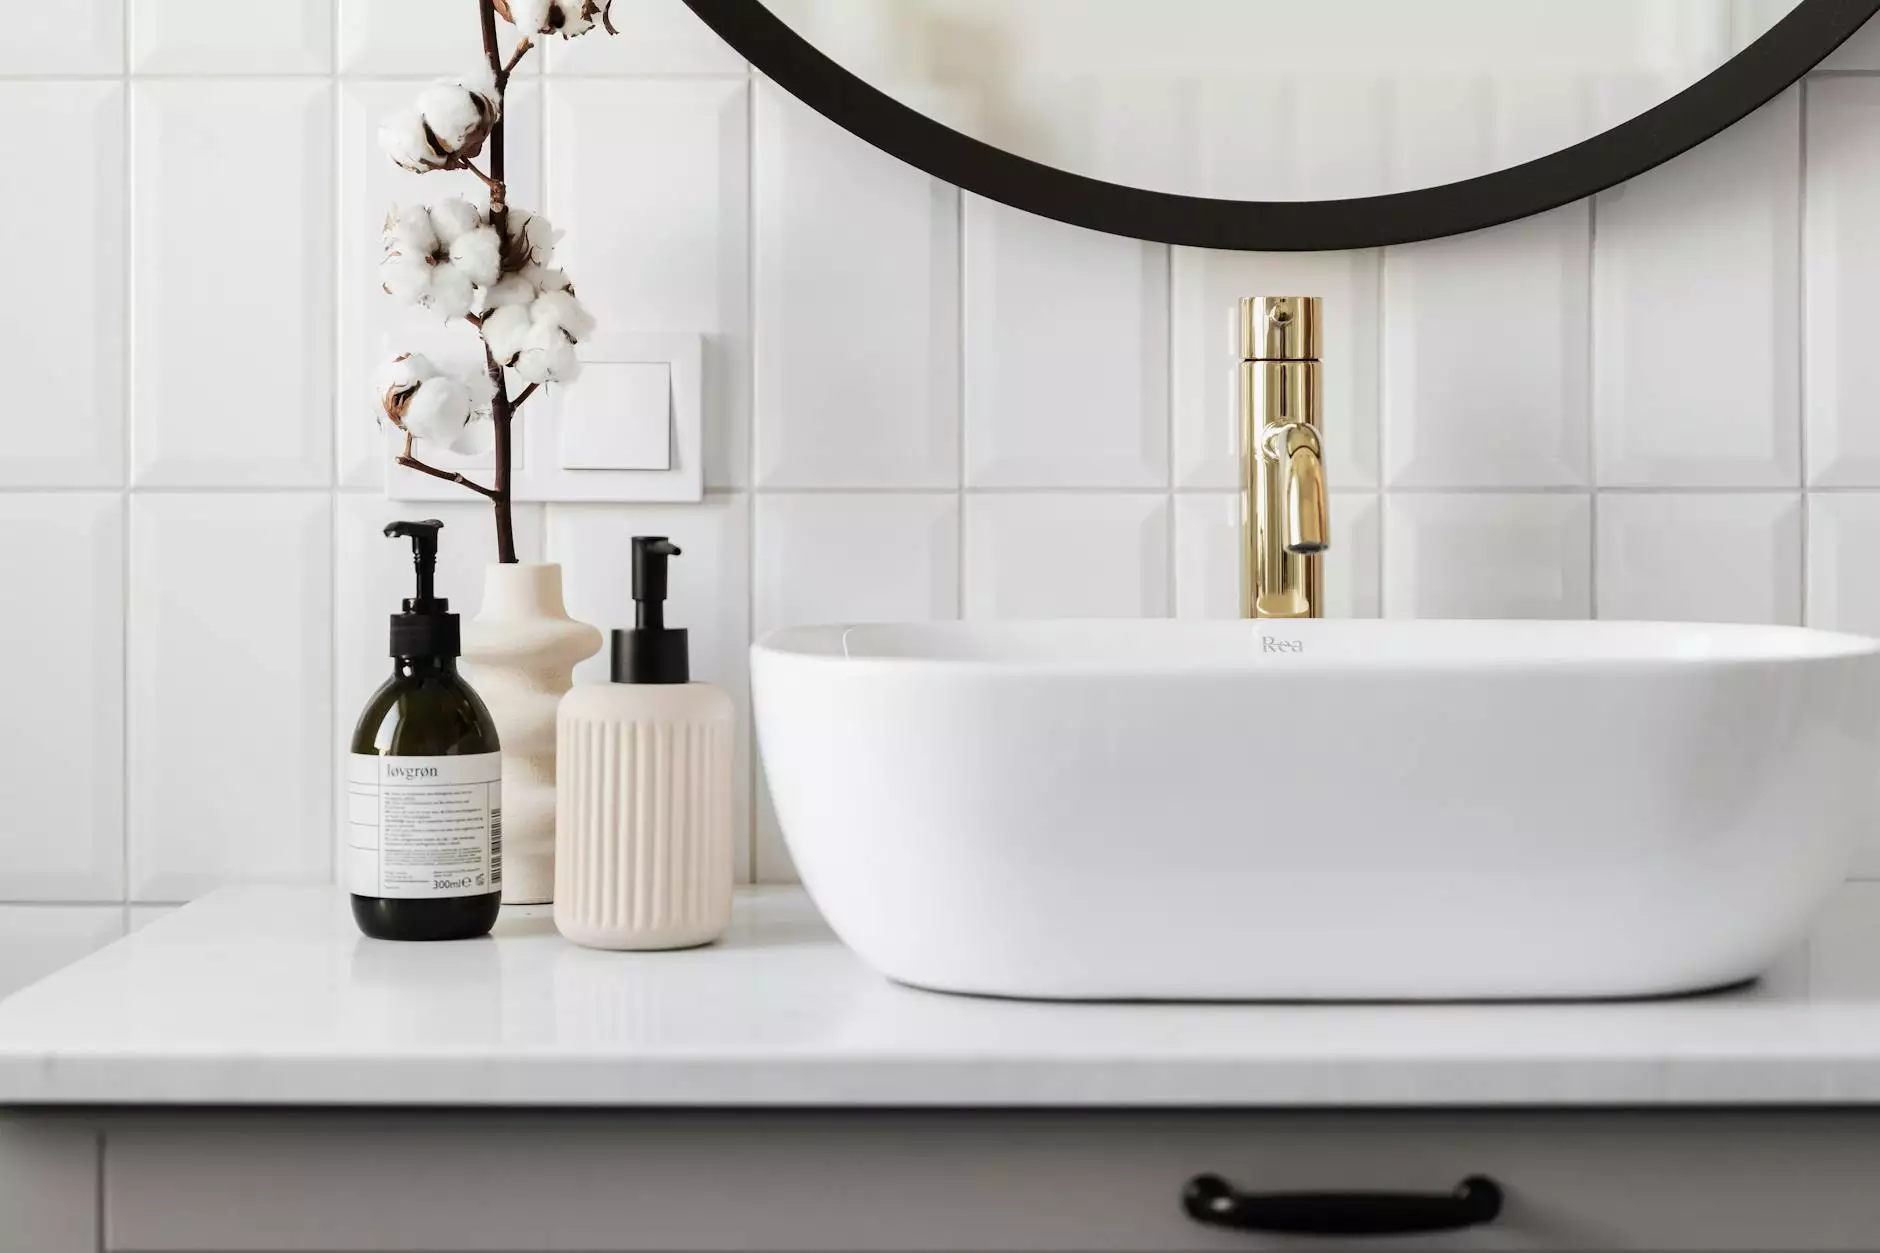
3. Fixtures
Bathroom fixtures comprise toilets, sinks, bathtubs, and shower units. Each requires careful installation to ensure proper function:
- Toilets: Proper flush mechanisms and secure mounting prevent leaks and ensure efficient waste removal.
- Sinks: Correctly installed sinks not only enhance usability but also add to the bathroom’s aesthetic appeal.
- Showers & Bathtubs: These need special attention for waterproofing and proper drainage to avoid water damage.
Steps for Bathroom Plumbing Installation
Now that we understand the components, let’s delve into the process of bathroom plumbing installation:
Step 1: Planning and Designing
A successful plumbing installation starts with careful planning. Assess the space available and decide where each fixture will be placed. Measure carefully to ensure all components can be fitted properly. Consider the following:
- Local plumbing codes and regulations.
- The existing layout of plumbing in relation to your fixtures.
- Accessibility for future maintenance.
Step 2: Gathering Materials
Your next step is to gather all necessary materials. This includes pipes, fittings, fixtures, and tools. Some essential items include:
- PVC, copper, or PEX pipes.
- Various fittings (elbows, tees, and couplings).
- Plumber's tape and joint compound.
- Tools such as pipe wrenches, saws, and drills.
Step 3: Installing the Water Supply Lines
Begin by installing the cold and hot water supply lines following your planned layout. Use the following tips:
- Ensure pipes are properly fitted and sealed to avoid leaks.
- All joints should be secure and tested for leaks before proceeding.
Step 4: Installing the Drainage Lines
Next, install the drainage lines. This requires careful sloping to ensure proper flow. Consider the following:
- Maintain a slope of ¼ inch per foot towards the main drain.
- Install traps for each fixture to prevent sewer gases from entering the bathroom.
Step 5: Mounting Fixtures
With the plumbing lines in place, you can now securely install the fixtures. Ensure that:
- Toilets are mounted securely to prevent wobbling.
- Sinks and countertops are level and sturdy.
- Showers and bathtubs are properly sealed to prevent leaks.
Step 6: Testing the System
Once all components are installed, turn the water supply back on and check for leaks. Test each fixture individually:
- Flush toilets to ensure proper function.
- Run water in sinks and showers to verify drainage.
Common Bathroom Plumbing Issues and Solutions
Even with the best installation practices, you may face common issues over time. Here are some challenges and how to address them:
1. Leaking Pipes
Fix: Identify the source of the leak and replace or reseal the affected areas. Use plumber’s tape to help seal threaded fittings.
2. Clogged Drains
Fix: Use a plunger or drain snake to clear minor blockages. Regular maintenance and careful disposal of non-flushable items help prevent clogs.
3. Low Water Pressure
Fix: Inspect and clean aerators on faucets and shower heads. This can often restore water pressure without needing extensive repairs.
Maintaining Your Bathroom Plumbing
Regular maintenance is essential to prolonging the life of your plumbing system. Consider these practices:
- Periodically check for leaks and drips.
- Clean out drain traps and pipes to prevent buildup.
- Flush your water heater annually to remove sediment buildup.
Conclusion
Bathroom plumbing installation is a significant aspect of creating a functional and enjoyable bathroom environment. By understanding the components, installation processes, and maintenance tips, you can ensure that your plumbing system supports your home's daily needs. At White Plumbing Company, we specialize in all aspects of plumbing, including water heater installation and repair. If you have any questions or need professional assistance, don’t hesitate to reach out!
For more insights and services, visit White Plumbing Company today!